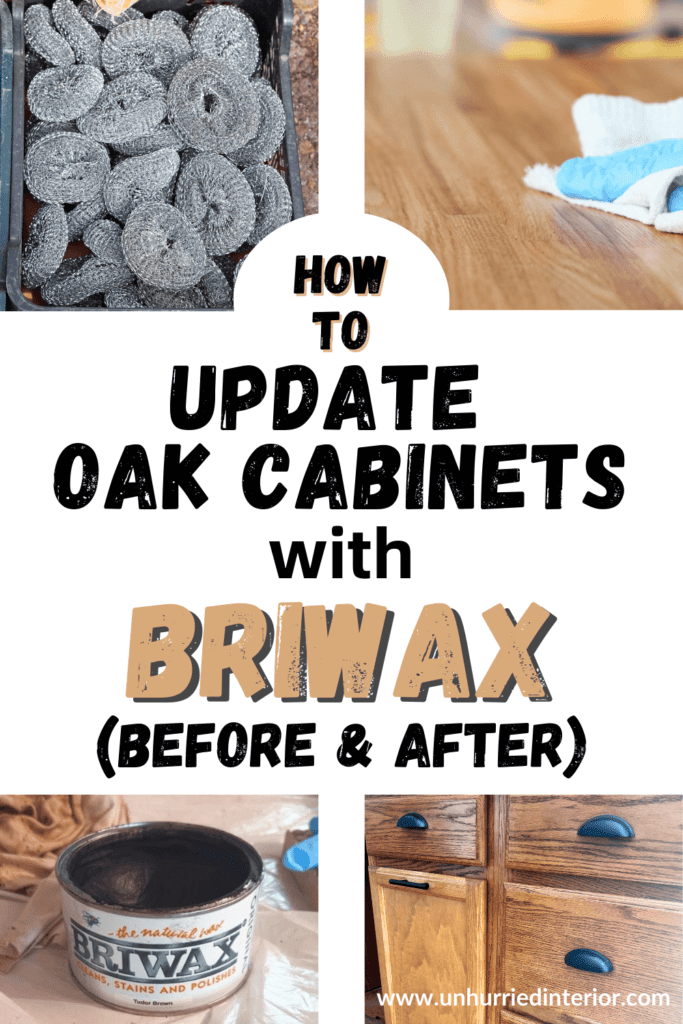
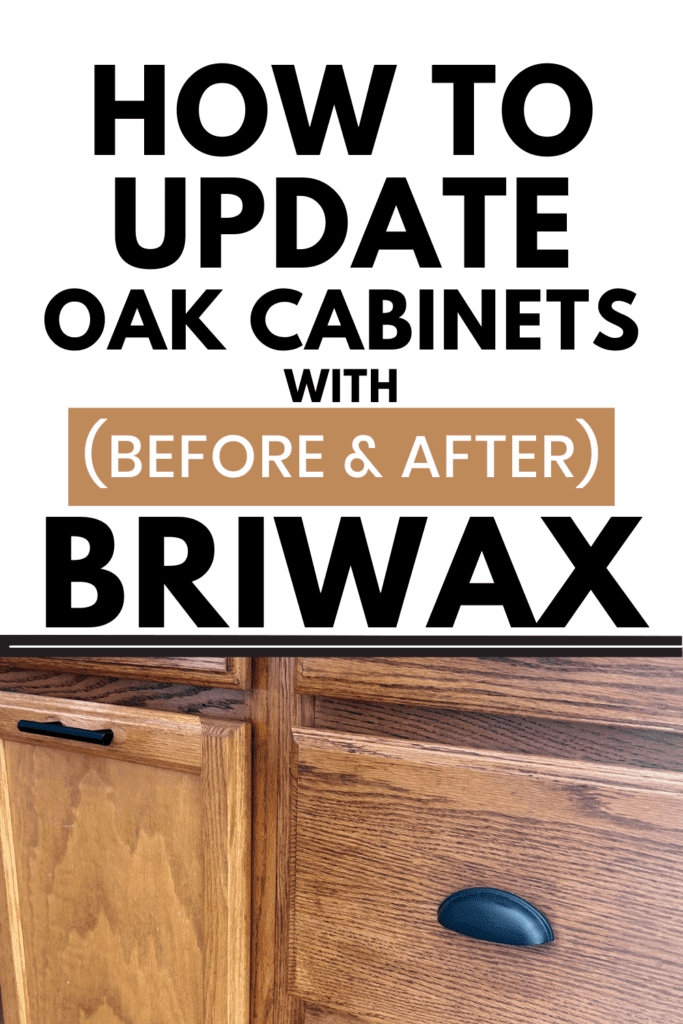
How to Update Honey Oak Cabinets with Briwax (Before & After)
This post tells you how to Briwax cabinets with before and after pictures.
If you have honey oak cabinets and you’re dreading the thought of painting them (like I was), I have the budget-friendly solution you’ve been looking for. Updating oak cabinets with Briwax is one of the easiest kitchen upgrades you can do—no brushes, no primer, no peeling paint.
I used Briwax on my own honey oak cabinets and the before and after transformation was unbelievable. I’m excited to share exactly how I did it, which Briwax shade I used, and how you can do the same thing this weekend.
Why Update Oak Cabinets Instead of Painting Them?
Painting oak cabinets is expensive, time-consuming, and quite honestly, risky. Paint chips, cracks, and shows wear from daily kitchen use. If you want to modernize oak cabinets without the hassle and cost of a full repaint, Briwax is the answer.
Here’s why so many homeowners are choosing to update their oak kitchen cabinets with wax instead of paint:
- Takes only a few hours from start to finish
- Costs way less than a professional paint job
- Enhances the natural wood grain instead of hiding it
- No brush strokes, drips, or peeling
- Can be touched up easily over time
- Looks genuinely modern and warm instead of outdated

What Is Briwax? (And Is It Good for Kitchen Cabinets?)
Briwax is a furniture wax made from a blend of beeswax and carnauba wax. It’s been used for many years to restore, protect, and enrich wood furniture and it works really well on kitchen cabinets too.
Is Briwax good for kitchen cabinets? Yes, it’s one of the best low-effort options for updating oak kitchen cabinets. (Though it is an arm workout!) It darkens the wood slightly, enhances the grain, and leaves a smooth, buffed finish that looks intentional and modern.
The consistency is similar to a thick lip balm—it’s not too runny and not too stiff. A little bit goes a long way, and one tin can cover an entire kitchen’s worth of cabinets. My cabinets were so dry that I had to buy two cans, but one can was almost enough! I did not do the back of a cabinet door—only the front of the doors.
Briwax Colors on Honey Oak Cabinets: Which Shade Should You Choose?
This is the question I get emails about the most and I can see why—it’s the most important decision you’ll make. Briwax comes in many shades, and choosing the right one makes the difference between a subtle refresh and a dramatic transformation.
Here’s how the most popular Briwax colors look on honey oak cabinets:
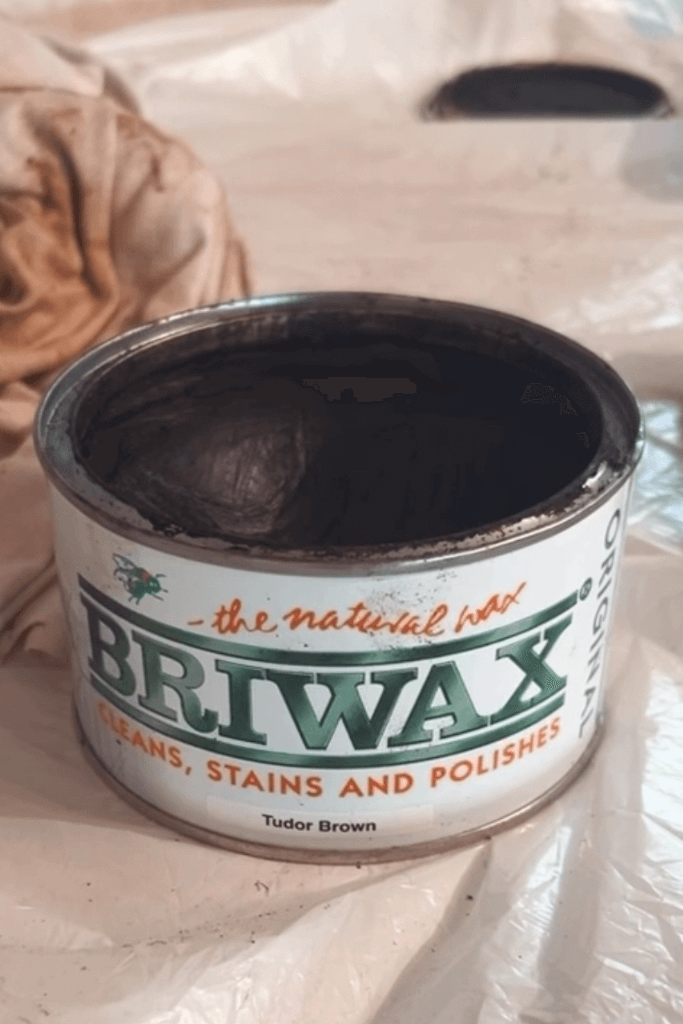
Tudor Brown (My Choice)
Tudor Brown is the shade I used on my own honey oak cabinets, and it’s the one I recommend most. It deepens the orange tones of honey oak into a rich, warm brown without going too dark. The wood grain becomes more defined and the overall look goes from ugly, orange 1990s builder-grade to warm and modern for 2026.
Dark Oak
Briwax Dark Oak gives a deeper, moodier result on honey oak. If you want your cabinets to read as almost-stained rather than just waxed, this shade delivers. It’s a beautiful choice if your kitchen has darker countertops or you’re going for a more dramatic look.
Ebony
Briwax Ebony is for those who want a bold, high-contrast result. On honey oak, ebony creates a very dark finish that almost reads as a black stain. It’s stunning paired with white walls and brass hardware, but test it on a hidden spot first—it’s a much darker color!
Liming Wax
Liming wax goes in the opposite direction—it lightens and whitens the grain of honey oak, creating a bleached, Scandinavian-inspired look. If you’re going for a coastal or Scandi aesthetic, Briwax liming wax on honey oak cabinets is a beautiful option.
Pro tip: Before committing to a full shade, buy a small tin and test it on the inside of one cabinet door. The color looks different on oak vs. other woods.

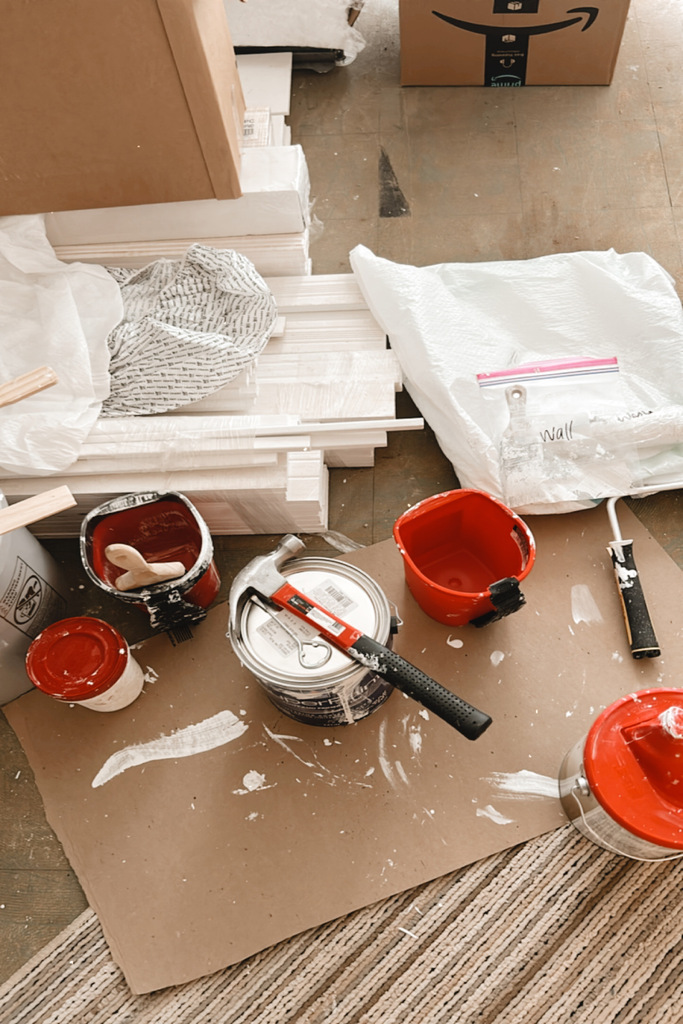
What You Need to Update Oak Cabinets with Briwax
One of the best things about this project is how minimal the supply list is. Here’s everything you need:
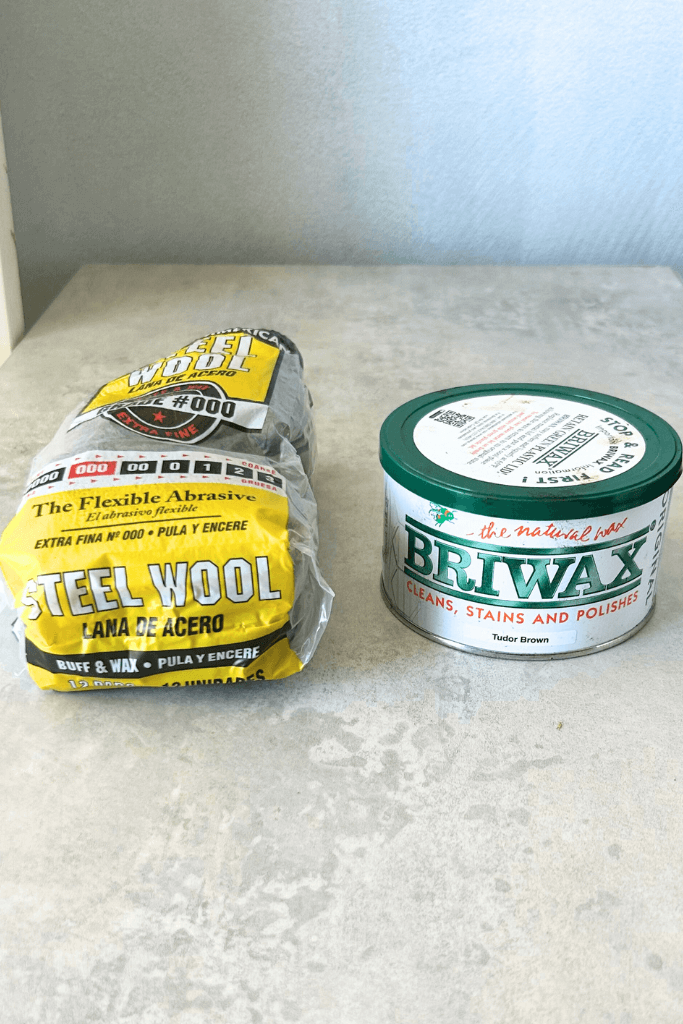
- Briwax in your chosen shade — get it here
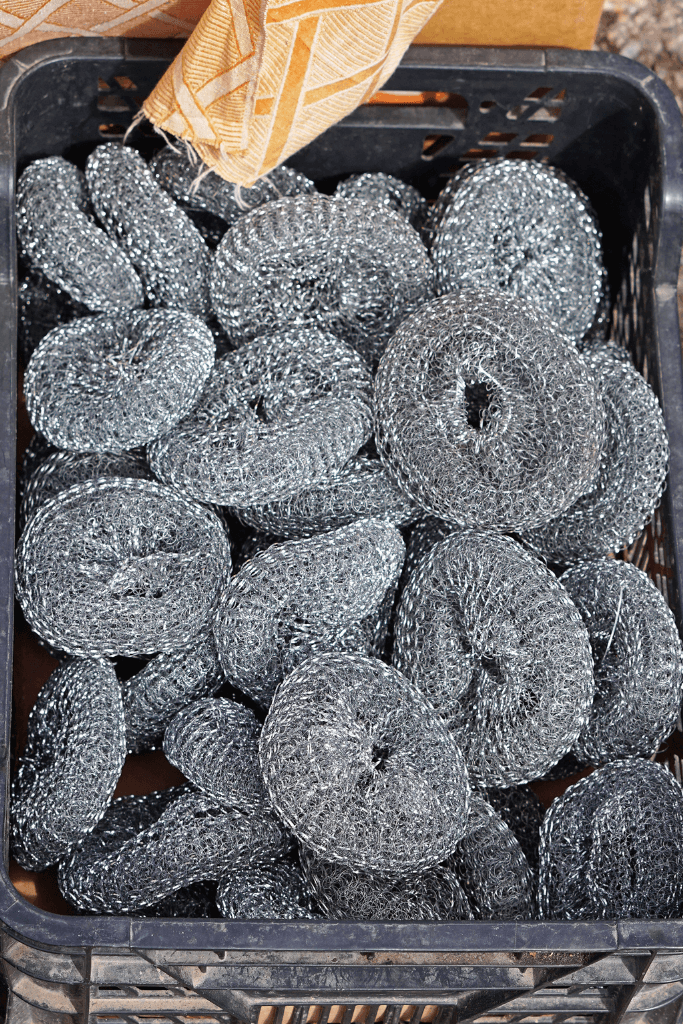
- Steel wool (0000 grade) — this is how you apply the wax; it buffs the wood as you go
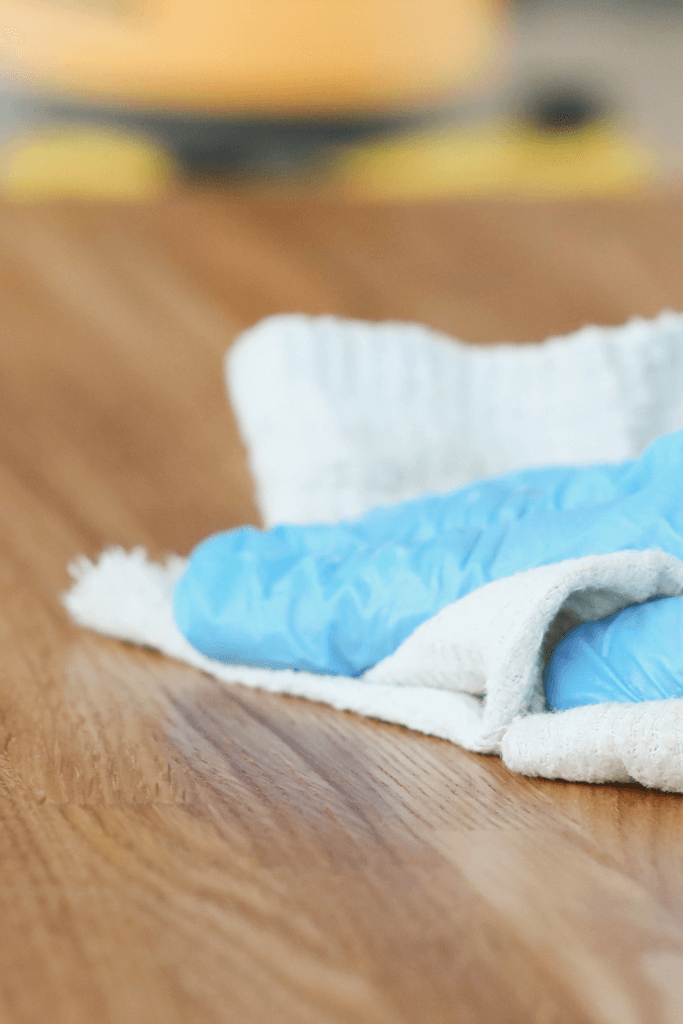
- Soft lint-free cloths — for buffing off the excess wax
- Rubber gloves — Briwax stains skin
- Fine-grit sandpaper (optional) — only needed if your cabinet surface feels rough
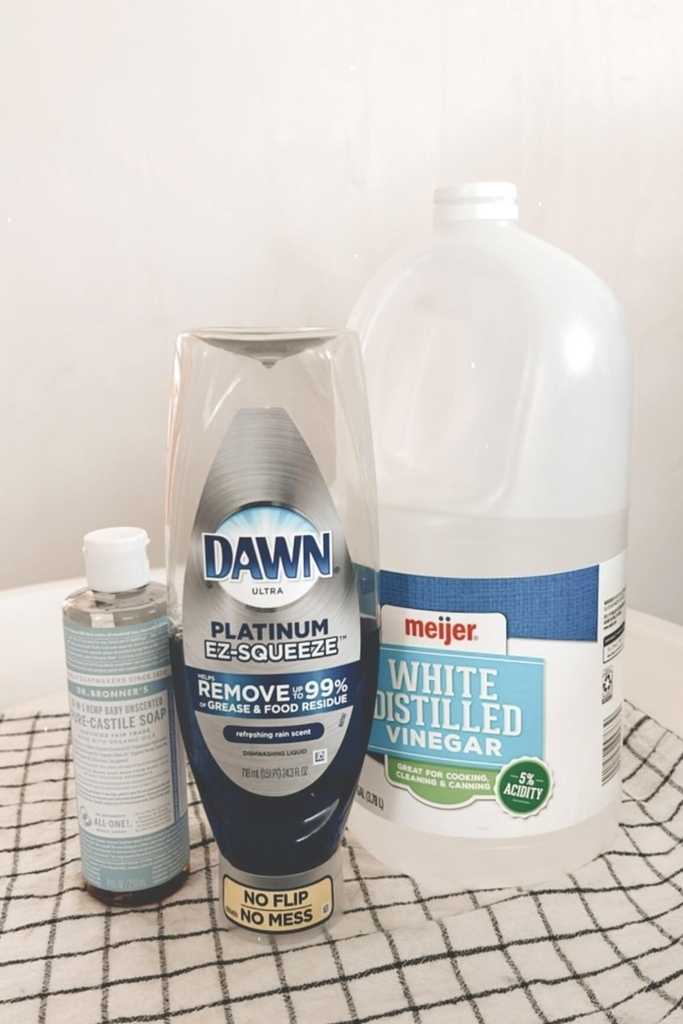
- Mild degreaser or TSP cleaner — for cleaning cabinets before you start
Important: Store Briwax below 65°F or it will liquefy. Don’t leave it in a hot car or garage in summer.
How to Prepare Your Oak Cabinets Before Applying Briwax
Preparation is the step most people skip, yet it’s the step that determines whether your results look professional or rushed. Take your time here.
- Degrease thoroughly. Kitchen cabinets collect years of grease, cooking residue, and grime. Use a TSP cleaner or a strong degreaser and wipe every surface. Briwax will not adhere evenly to a greasy surface.
- Let them dry completely. Do not apply Briwax to a damp surface.
- Lightly sand if needed. If the surface feels rough or has any raised grain, a quick pass with fine-grit sandpaper smooths it out and helps the wax penetrate more evenly.
- Remove hardware and hinges. This is optional but makes application much easier and gives you cleaner results around the edges.
- Ventilate the space! Open windows and turn on your range hood. Briwax fumes are strong and good airflow is a non-negotiable.
How to Use Briwax on Kitchen Cabinets: Step-by-Step
- Apply with steel wool. Dip your steel wool into the Briwax tin and scoop out a small amount—less than you think you need. Wipe it onto the cabinet surface in the direction of the wood grain using light, even strokes. The steel wool gently abrades the surface as it goes, helping the wax penetrate deeper.
- Let it sit for 5–10 minutes. The wax needs a few minutes to penetrate the wood and begin to haze over on the surface.
- Buff with a soft cloth. Using a clean, lint-free cloth, buff the surface in circular motions until the haze disappears and a smooth, even sheen appears. Put some muscle into this step—this is where that arm workout comes in. The more you buff, the better the finish.
- Apply a second coat for a darker result. If you want a deeper color or more pronounced wood grain, apply a second thin coat and repeat the buffing process.
- Inspect and touch up. Look over each cabinet door and drawer front in good light. Touch up any areas where coverage looks uneven.
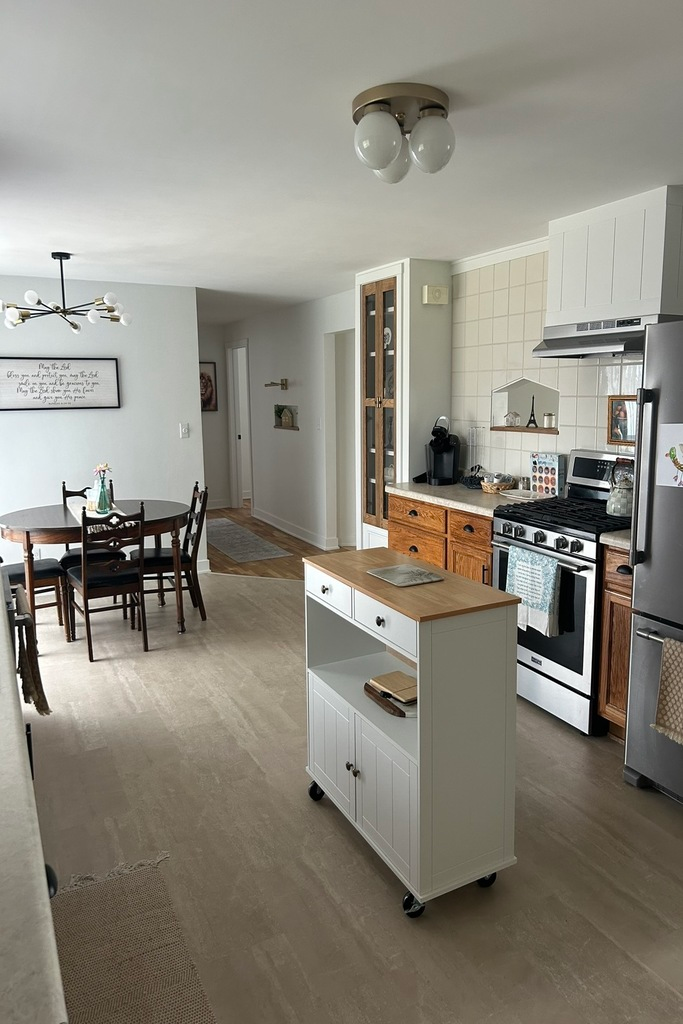
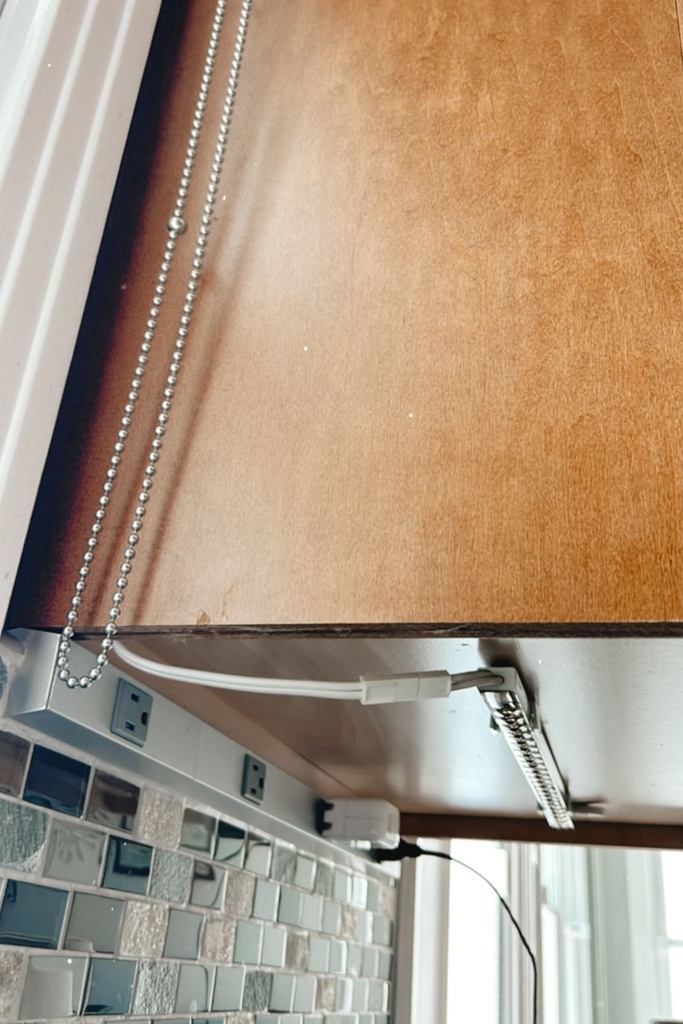
Briwax on Honey Oak Cabinets: Before and After Photos
Here’s a before and after transformation from my own kitchen:
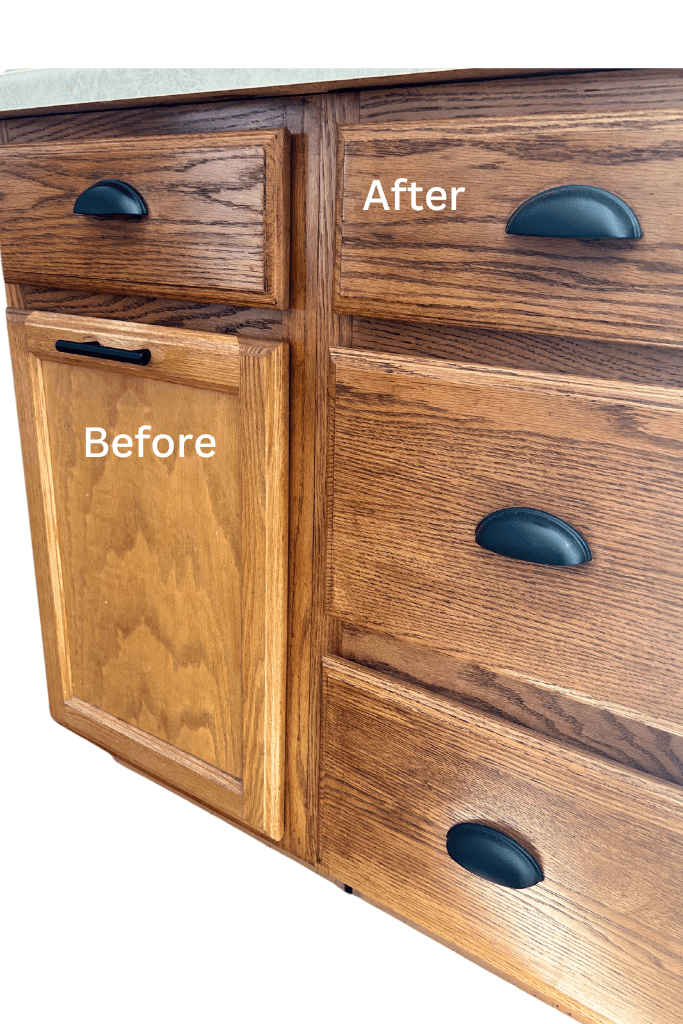
The difference is hard to believe for a few hours of work and under $100 in supplies. The cabinets went from dry and orange to rich, warm, and intentionally wood-toned. The wood grain—which was barely visible before—is now one of my favorite things about the kitchen.
Common Mistakes to Avoid When Using Briwax on Oak Cabinets
- Skipping the degreasing step — this is the #1 reason people get patchy results. Clean cabinets are a non-negotiable.
- Applying too much at once — Briwax should be applied in thin layers. Too thick and it gets sticky and attracts dust.
- Not buffing enough — the buffing step is what creates the beautiful finish. Don’t rush it.
- Skipping ventilation — the fumes are strong. Always work with windows open and your range hood running if it ventilates outside.
- Expecting paint-level coverage — Briwax enhances and deepens the wood. It won’t turn your cabinets white or grey. If you want a completely different color, paint is the right choice.
How to Modernize Oak Cabinets Beyond Briwax
Briwax does the heavy lifting, but pairing it with a few other updates will completely transform your kitchen. Here’s what I recommend doing after you’ve applied the wax:
Update the Cabinet Hardware
New hardware is the fastest way to modernize oak cabinets after waxing. Black matte handles give a modern contrast against the warm wood tones. Brass or gold hardware leans more warm and eclectic. Both look intentional and current rather than dated.
I’m currently loving these black bar pulls and cup pulls. They match my black sink and black kitchen faucet! For a budget-friendly brass option, these are classy.
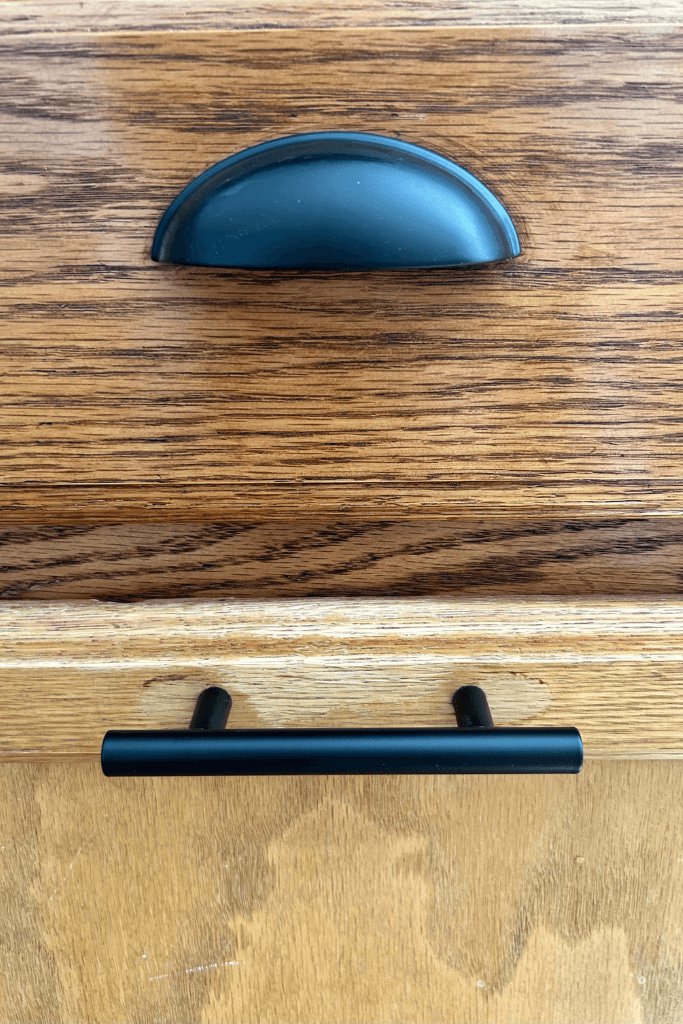
AFTER photo is top cabinet.
Paint the Walls White or Off-White
Light walls are the perfect backdrop for updated warm wood cabinets. Sherwin-Williams Pure White is what I used on my kitchen walls—it’s bright without being stark and makes the space feel airy and open.
Add White Subway Tile
White subway tile backsplash is one of the most cost-effective kitchen updates you can make. It pairs beautifully with warm wood cabinets, adds light, and has a timeless appeal that won’t go out of style. I matched my backsplash to my other wall since I wasn’t about to replace it and it already had a neutral look. That alone saved me hundreds of dollars in my kitchen renovation!
Swap Out Countertops
If your budget allows, new countertops complete the transformation. White quartz or marble-look quartz pairs beautifully with updated oak cabinets and ties the whole kitchen together. Or a neutral laminate works well too. Don’t overspend just to have a fancy kitchen.
How to Maintain Your Briwax Cabinets
One of the best things about Briwax is how easy it is to maintain. Here’s all you need to do:
- Wipe spills immediately with a soft, slightly damp cloth — don’t let water sit on the surface
- Clean with a mild, non-abrasive cleaner — avoid harsh degreasers near waxed areas
- Touch up any worn spots with the same shade of Briwax — just apply a thin layer and buff
- Re-wax the full cabinets once a year, or even every other year, to keep them looking fresh and protected
Frequently Asked Questions
With normal kitchen use, Briwax typically lasts 6–12 months before needing a touch-up. High-traffic areas like the cabinet doors around the sink or stove may need refreshing sooner. The good news is re-application is just as quick and easy as the original application.
Briwax is designed for bare, stained, or previously waxed wood surfaces. It can be used over painted cabinets but won’t penetrate the paint the same way. For painted cabinets, a furniture wax designed for painted surfaces is a better choice.
Briwax is not food-safe in the traditional sense. Avoid applying it to surfaces that will have direct food contact. For cabinet doors and drawer fronts — which don’t touch food — it’s completely fine.
Both products refresh and enhance wood, but they work differently. Briwax is a wax applied with steel wool that adds a protective coating and deepens color. Restore-A-Finish penetrates the existing finish to repair and revive it. For honey oak cabinets, Briwax gives a more dramatic color transformation.
Yes, Briwax works beautifully on golden oak cabinets. Golden oak and honey oak are very similar in tone, so the same shades (especially Tudor Brown) give great results on both.
Ready to Update Your Honey Oak Cabinets?
Updating oak cabinets with Briwax is genuinely one of the best home improvement projects you can do for the money. A single weekend, under $100, and you’ll have a kitchen that looks intentionally designed—not outdated.
Grab your Briwax here and come back to share your before and after in the comments. I love seeing these transformations!
Subscribe to Unhurried Interior!
Get exclusive content from Unhurried Interior straight to your inbox.
Subscribe to Unhurried Interior!
Get exclusive content from Unhurried Interior straight to your inbox.
This post tells you how to update honey oak cabinets with Briwax so you can love your kitchen!
You may also like: